One of my favorite wedding projects was creating a DIY photobooth and a simple site to display the photos. Renting a photobooth costs north of $1k, so I thought I'd share what we did:
Setting up the photobooth
The setup for the photobooth was pretty basic. We used:
- A laptop
- A webcam (we used a stand alone one, which worked much better than the one on my Mac)
- A printer with 4x6 photo paper
- A bright light if you're going to be using it at night or indoors (a shop light from my dad's garage in this case)
- Scissors to cut the strips in half
- Photobooth software. We used Seemonkey. It worked great, but I'm sure there are others out there that can do the same basic thing
We put the laptop and camera on a table in front of a bench, with the printer behind them.
The photobooth software is the key to making this easy. Once you've got the hardware setup and the software booted, all your guests need to do is hit the spacebar on the laptop. Seemonkey then takes 3 photos and sends them off to the printer to be printed.
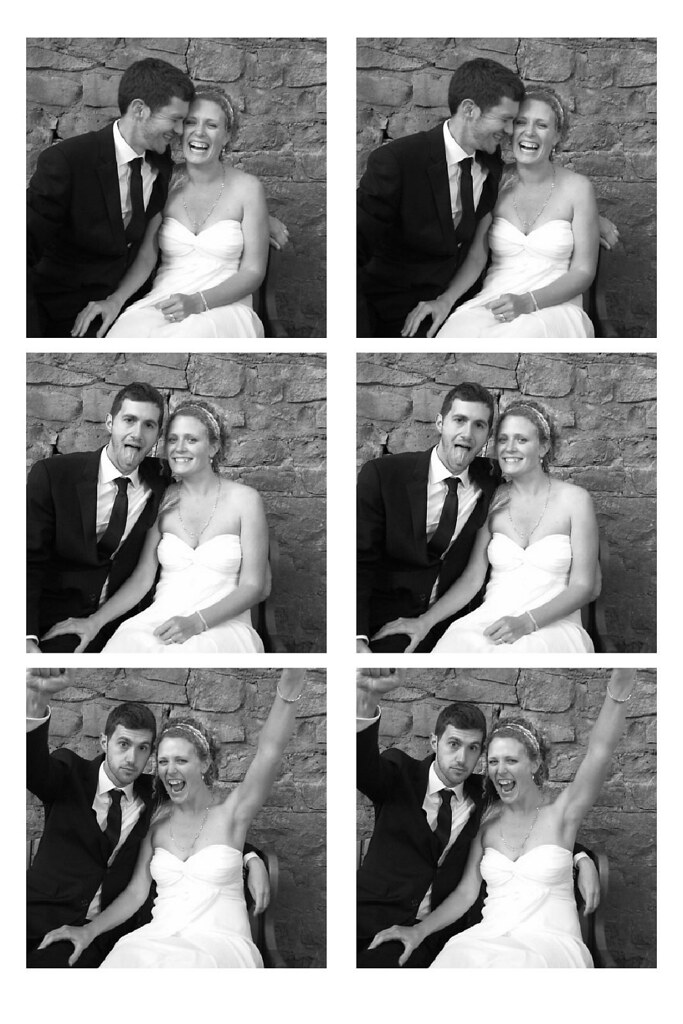
We made the pixs black & white and used a big enough margin to allow folks to easily cut the strip in half.
Putting the pixs online
One of the best parts of this setup is that you get all the pictures on your hard drive and can then share them with everyone. Instead of just using flickr/picasa/facebook, I wanted to do something a little more fun.
So, I created a simple page on our wedding website that showed a single randomly selected strip of photos. When you clicked on the photos (or reloaded the page), another randomly generates strip was displayed.
Turns out people love clicking on things ;). Google analytics tells me that we were averaging 48 clicks a vistor, and got 10k page views from our friends and family.
To make it work, I reduced the photos to pretty small size (460x690) so they'd load fast and used a little bit of javascript to power the randomization.
There's definitely a more elegant way to do this, but here's the code I used for the page:
<script type="text/javascript">
var ic = 132; // Number of alternative images
var xoxo = new Array(ic); // Array to hold filenames
xoxo[0] = "images/001_pic.jpg"
xoxo[1] = "images/002_pic.jpg"
//keep adding pixs
function pickRandom(range) {
if (Math.random)
return Math.round(Math.random() * (range-1));
else {
var now = new Date();
return (now.getTime() / 1000) % range;
}
}
</script>
<table cellpadding="0" cellspacing="0" border="0" height="100%" width="100%">
<tr valign="top"><td align="center">
<a href="//URL"><script type="text/javascript">document.writeln('<img src="'+xoxo[choice]+'" >');</script></a>
Here's what the photos ended up looking like: